
This is a sponsored post
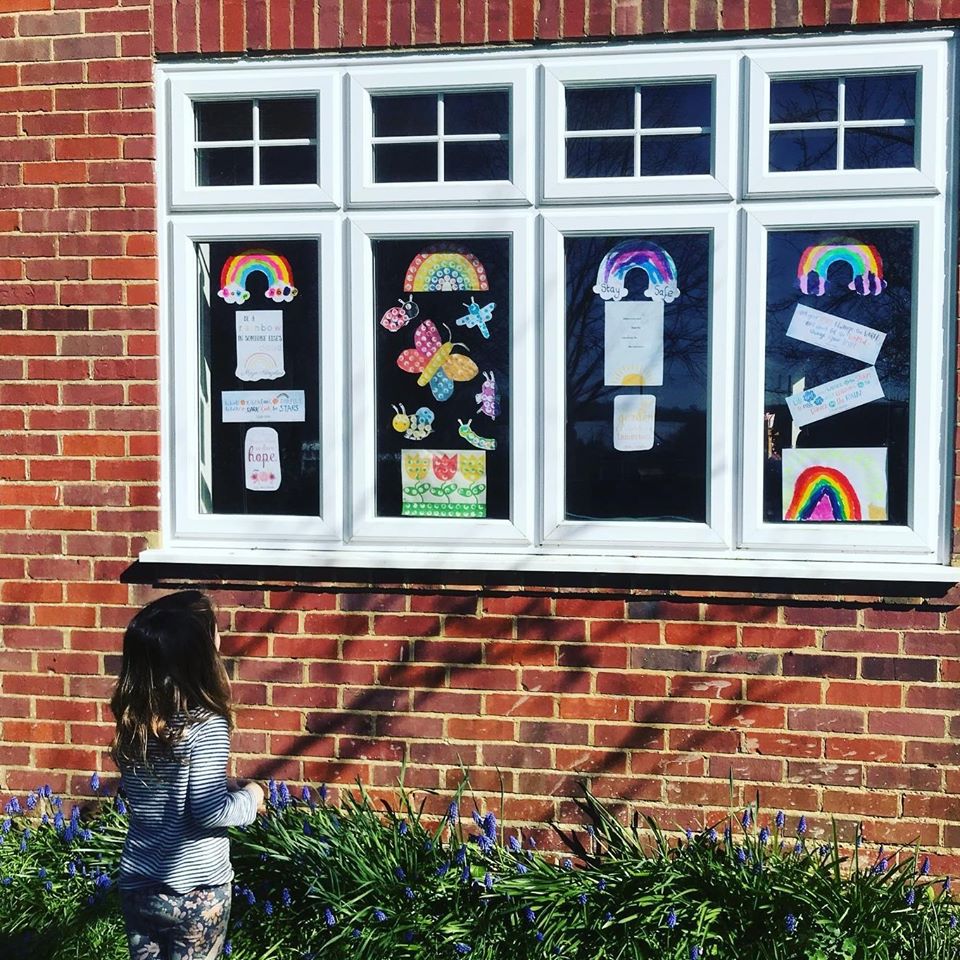
With a second UK lockdown possibly on the horizon, it’s never too early to start planning out how you’re going to spend those familiar days at home with the kids. If you feel that you’ve already baked a mountain of cookies in the first lockdown, or made enough colourful rainbows to spread joy to The Grinch himself, you may be wanting some further creative inspiration on how to spend time with your little ones.
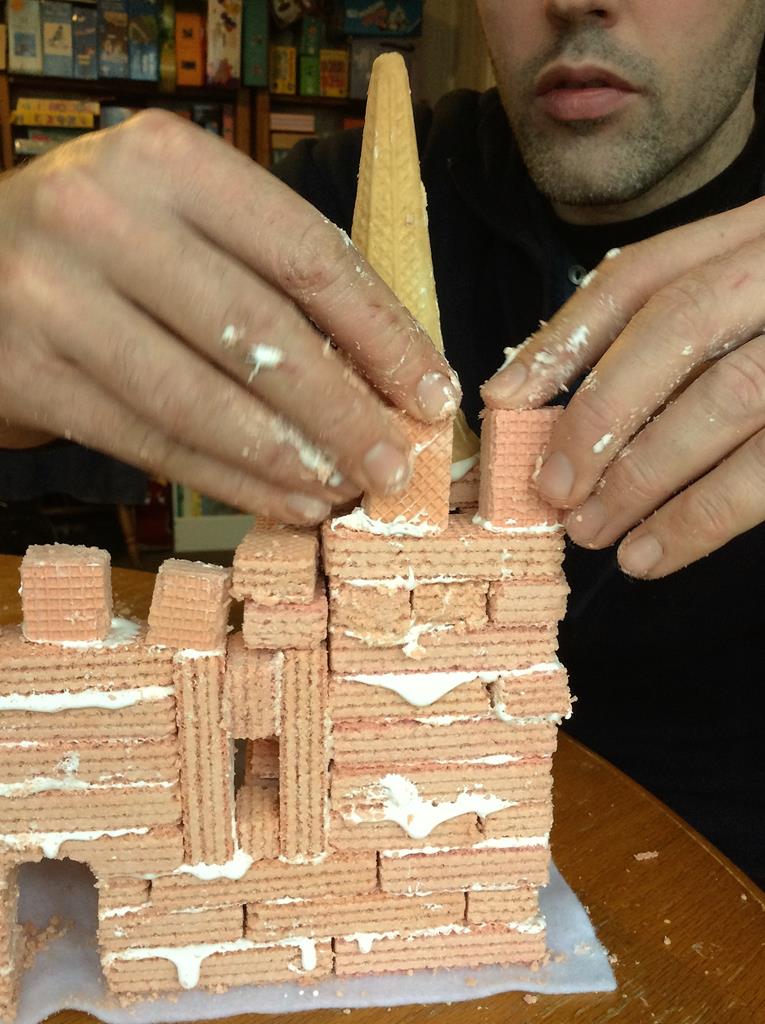
That being said, why not level up your quarantine game by planning a DIY project with them? Not only will this give your child something to occupy themselves with, but engaging in safe DIY activities can even help to boost their creative and motor skills.
Now, you may be wondering where to start with DIY. Luckily, experts at the Case Farm – a manufacturing retailer who specialise in custom cut toolbox foam – have got you covered with this handy tools checklist.
Have a read and remember – keep the super-sharp objects away from your children!
Spanners and Sockets
You may already have these tucked away in a drawer somewhere. Coming in different shapes and sizes, spanners give you an easy grip when you are turning a nut or bolt. Similarly, a socket works on a single handle that can be adjusted to cater for different grips.
When it comes to operating with spanners and sockets, you’ve got to make sure that you’re working with the right size of tool and that you turn carefully to avoid destruction to your nuts and bolts. You may decide to let your kids have a go with these little bits and bots and see how they master the art of precision and patience!
Pliers
Speaking of nuts and bolts, pliers are very useful when it comes to loosening these bits, or when you’re just wanting some extra grip. If your child is confident with handling scissors, then they’ll have no problem with pliers.
When you’re working on that big DIY project with your little one, make sure that you give them a smaller set of pliers to work with, with rubber handles for easy grip. You could also give your child some insulated copper wire that they can make various shapes with. Just watch their creative juices flow with this.
Screwdrivers
It goes without saying that your toolbox is incomplete without a screwdriver or two! Before you get started, you’ve got to make sure that your screwdriver is compatible with the type of screws that you’re working with. A Phillips Head is the perfect match for cross-shaped screws, whereas a slot head is compatible with the most simplest of screws.
Now, don’t be afraid to give your child the chance to work with this tool. Operating a screwdriver will allow them to channel their concentration, which will then lead to satisfaction as they finally put the item together!
Hammers
As much as your child may love to smack things down, it’s important to be vigilant about letting them use a hammer. If you do feel your child will be sensible with this, then be sure to provide them with a hammer that is light enough to handle but still weighty enough to do the job.
When it comes to choosing the right kind of hammer for your DIY project, a claw hammer tends to be a suitable fit for most jobs, and is one that your child could possibly have a go with.
Measuring tape
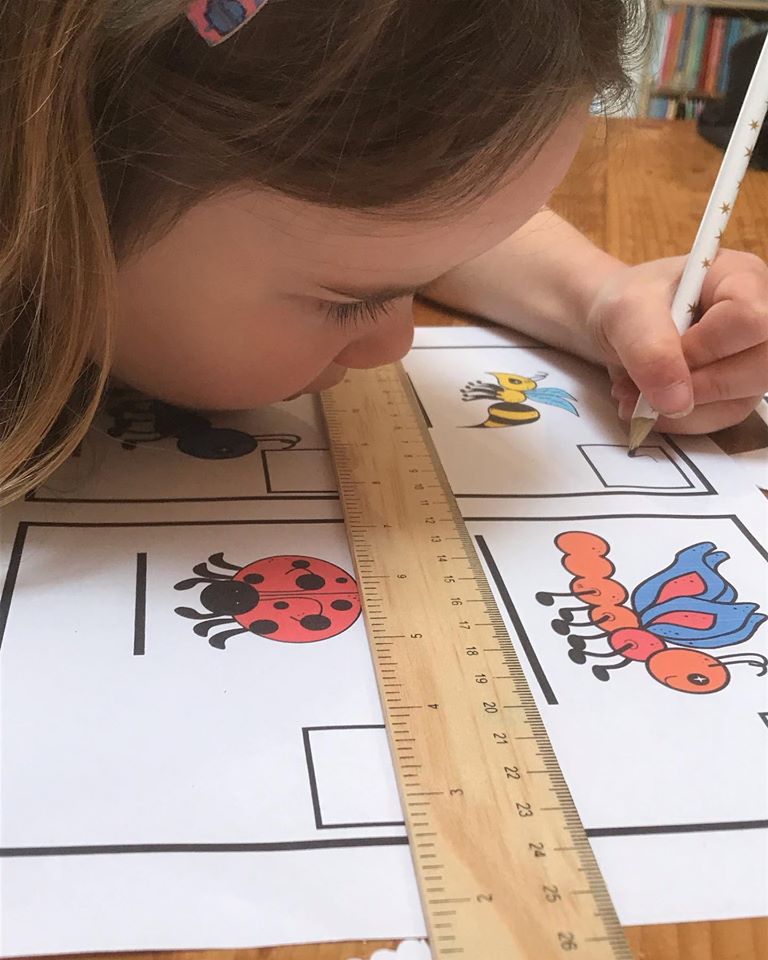
A DIY tool that is generally safe and easy to use across the board – the measuring tape! The tape measurer in your toolbox should be spring-loaded and have the correct appropriate measurements.
As well as being handy, a measuring tape is also a great educational tool for your children. For instance, it teaches them different measurements, basic mathematics, and the importance of accuracy. Who knew that participating in a DIY project would also be a great numeracy session?
Torches
Using a torch for your project is completely optional and whether or not you need to use the device will depend entirely on whatever it is that you’re doing.
If you do need to shine a light on something, you may ask your child to do this for you while you get stuck in with the more fiddly bits. To attract the best levels of lighting, ask your child to slowly move the torch. Alternatively, if this is easier, they could even use a penlight to help you deal with the tighter places.
Safety Wear
Last and most certainly not least, make sure that your DIY toolbox is equipped with the proper safety wear for you and your children. These may be gloves for handling, goggles to shield the eyes from any flying particles, and earbuds to protect the ears from the sound of any noisy work that’s being done.
If this is your first time introducing your children to these tools, just be attentive and patient with them – they’ll become DIY experts in no time! As mentioned, exposing your little ones to these kinds of things is a fantastic way of developing their cognitive skills. You may even just have a future manufacturer in the making!