For many parents, finding ways to keep the kids busy over the long summer break is a constant struggle. For those dreading the constant cries of ‘I’m bored!’, the following is a guide to a simple and inexpensive activity for children of all ages.
The great outdoors
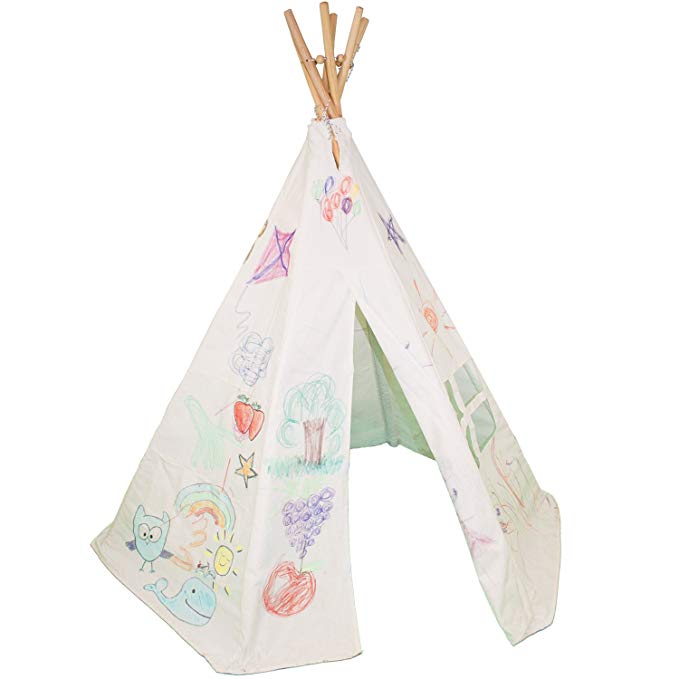
During good weather, most children love camping – even if it’s just in the back garden – and, most will find the experience even more special when sleeping in their own, customised tent. Follow our simple steps below to work with your child to use fabric printing as a way of designing their very own bespoke tent.

What you’ll need
1 x child’s tent
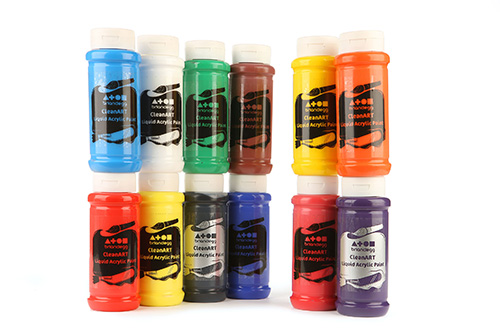
Canvas paint (although it is possible to get hold of canvas-specific paint, it can be expensive and, we find that acrylic paint works just as well.
Sheets of polystyrene (these can be bought quite cheaply from craft stores or, you may even have some blocks at home – these are often used as padding within packages and parcels).
A drawing pad and pencil
Fabric paint sealer (as tents get a lot of outdoor use, these are really useful!)
The project
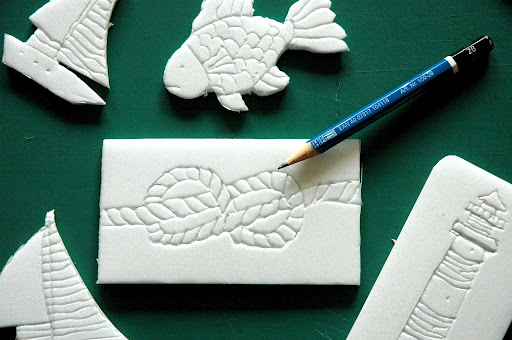
Although there are any number of tools that can be used for fabric printing, we’ve chosen polystyrene as it can not only be cut into different shapes but, it can also be carved to create unique and interesting patterns.
There are also options regarding paint, including markers and crayons but, for this project, we find that mixed acrylic paint works best.

Step 1
Begin with discussing with your child the design that they would like on their tent. A child’s imagination is a great thing but, try to steer the toward a simple design which can be produced using the tools available. It’s a good idea to first task your child with drawing the design onto a piece of paper before starting on the tent.
Step 2
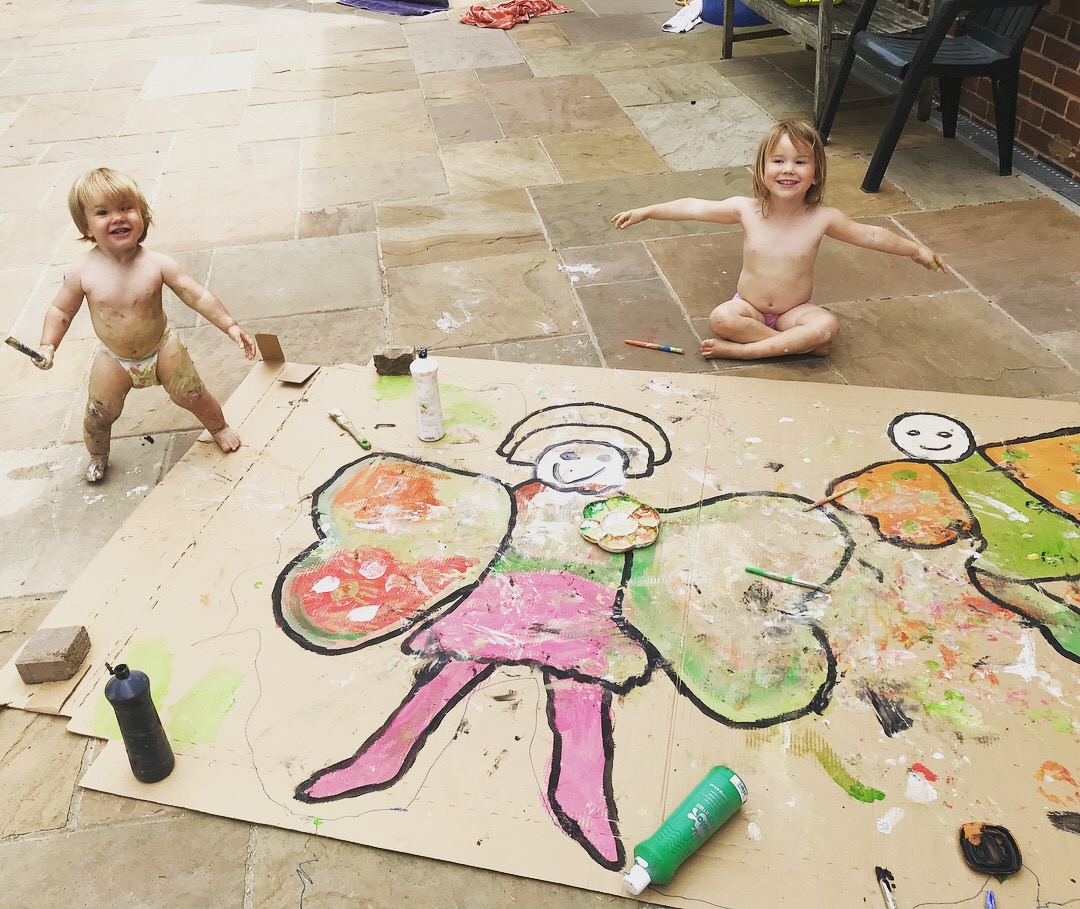
Once your child is happy with his or her design, it’s time to prepare for the tent painting. First things first, use aprons to cover clothing as fabric paint can get messy. Now that you’ve ensured that your child is as mess-proof as possible, he or she can begin mixing the fabric paint, following the instructions on the bottle. To avoid the paint hardening, it’s best to just start with the first colour(s) that you will be using.
Step 3
Next is one of the most fun stages of the project, you’re ready to prepare your tools. Choose your block or sheet of polystyrene and cut it down to size before then cutting to the required shape (your child will probably require your help and, of course, children should always be closely supervised when using knives). When it comes to design, the sky really is the limit … see what you can do!

Older children may fancy trying their hand at some more complex designs such as these great fish and rope motifs. The Cotton Bee site has some great inspiration for designs both simple and complex if your child needs a few ideas.

Step 4
Once your child is happy with his or her design, they’re ready to start with their fabric printing. For the best results, put up the tent first – if your child is too little to reach the top of the tent, use a low stool or step-ladder. One by one, dip the polystyrene shapes or designs into the mixed bowl of acrylic paint and hold for a few seconds to make sure that the polystyrene is covered. You can then transfer to your chosen area of the tent – again, hold the paint-covered tool onto the fabric for a few seconds to make sure that it is transferred properly.
When you’re sure that your child has got the hang of it, you can encourage him or her to try using different designs and colours; for example, a moon and stars theme in bright colours looks fantastic on a dark coloured canvas.
Step 5
Now it’s time to leave the tent to dry – sunshine is the ideal dryer but, failing that, you can simply leave for a few hours or help the process along with a hairdryer. Once dry, it’s a good idea to use a sealer in order to make sure that the paint doesn’t run during wet weather. Your designer tent is now ready for those impromptu summer camping sessions!
Adventure awaits!
This is a collaborative post
